How to Create an Experimental Music Video
Experimental music videos give artists and filmmakers an opportunity to move beyond traditional music video formulas.
Instead of relying entirely on standard performance shots, narrative scenes, and conventional editing, an experimental music video can use unusual camera movement, abstract imagery, unconventional lighting, unexpected locations, visual effects, distortion, repetition, symbolism, and nontraditional editing techniques.
The result doesn’t have to make literal sense.
An experimental music video can be strange, chaotic, abstract, minimal, surreal, uncomfortable, beautiful, or completely unpredictable.
What matters most is that the visual choices contribute something meaningful to the music.
What Is an Experimental Music Video?
An experimental music video is a music video that intentionally moves outside conventional filmmaking techniques or storytelling structures.
A traditional music video might follow a recognizable formula:
Performance + narrative + B-roll + conventional editing
An experimental music video might instead use:
- Abstract imagery
- Nonlinear editing
- Repetition
- Extreme close-ups
- Unusual camera angles
- Distortion
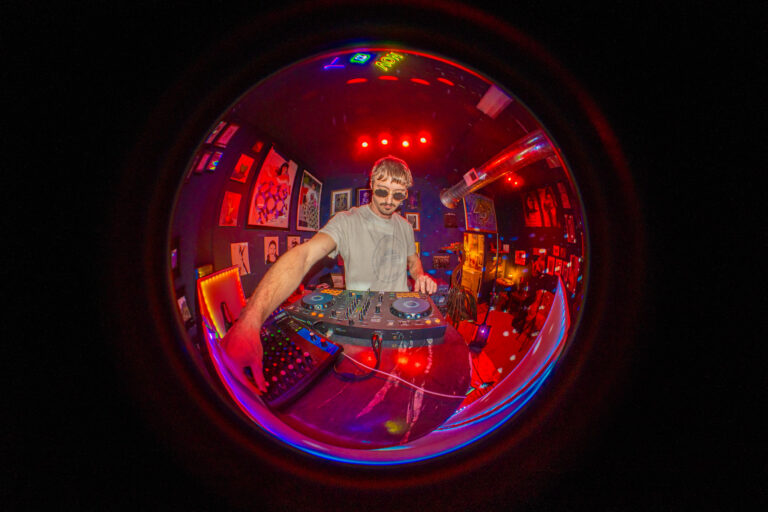
- Unconventional lighting
- Practical effects
- Glitch effects
- Surreal environments
- Unusual frame rates
- Long static shots
- Rapid cuts
- Intentional camera shake
- Symbolic imagery
There are no strict rules defining what qualifies as experimental.
The defining characteristic is usually an intentional departure from conventional visual storytelling.
Start With the Music
The first step in creating an experimental music video is understanding the song.
Listen to it repeatedly before developing the visual concept.
Pay attention to:
- Lyrics
- Instrumentation
- Tempo
- Rhythm
- Vocal delivery
- Sound effects
- Transitions
- Beat changes
- Dynamic changes
- Repetition
- Silence
- Emotional shifts
Instead of immediately asking, “What story should I tell?”, ask:
“What does this song make me want to see?”
The answer might be a location, a color, a texture, a movement, a character, an object, or something completely abstract.
Don’t Take the Lyrics Literally
One of the easiest ways to make an experimental music video more interesting is to avoid illustrating every lyric directly.
If the artist says something about a car, you don’t necessarily need to show a car.
Instead, consider what the lyric represents.
A car could represent:
- Movement
- Escape
- Freedom
- Isolation
- Wealth
- Danger
- Nostalgia
You can represent those ideas visually without showing the literal object.
This gives you much more creative freedom.
Build a Visual Concept
Experimental doesn’t mean random.
Before shooting, develop a general visual concept.
Your concept could revolve around:
A color: Everything gradually shifts toward red.
A location: The entire video takes place inside one strange environment.
An object: One object appears repeatedly throughout the video.
A movement: The performer is constantly walking, running, falling, or spinning.
A visual effect: Distortion becomes increasingly intense as the song progresses.
A theme: Identity, isolation, technology, paranoia, nostalgia, or transformation.
You don’t need to explain the concept to the audience.
You simply need a consistent idea guiding your creative decisions.
Create a Mood Board
A mood board can help establish the visual direction before production.
Collect references for:
- Colors
- Lighting
- Locations
- Wardrobe
- Camera angles
- Textures
- Architecture
- Film stills
- Photography
- Visual effects
- Typography
- Production design
Your mood board doesn’t have to consist entirely of other music videos.
Look at photography, paintings, advertisements, films, architecture, fashion, graphic design, and other visual art.
The goal is to create a visual vocabulary for your project.
Use Unusual Locations
The location can become one of the most important elements of an experimental music video.
You don’t necessarily need an expensive set.
Look for visually interesting places such as:
- Abandoned buildings
- Parking garages
- Industrial spaces
- Empty warehouses
- Forests
- Fields
- Tunnels
- Stairwells
- Rooftops
- Laundromats
- Convenience stores
- Empty offices
- Unusual residential spaces
A normal location can also become experimental through lighting, framing, production design, and editing.
Use Extreme Close-Ups
Extreme close-ups can make ordinary objects feel unfamiliar.
Instead of filming an entire person, isolate individual details:
- Eyes
- Mouth
- Hands
- Jewelry
- Clothing
- Skin
- Shoes
- Objects
- Textures
Extreme close-ups can create mystery because the viewer doesn’t immediately understand what they’re looking at.
This can be particularly effective when combined with unusual sound design or rapid editing.
Experiment With Camera Angles
Don’t limit yourself to eye-level shots.
Try:
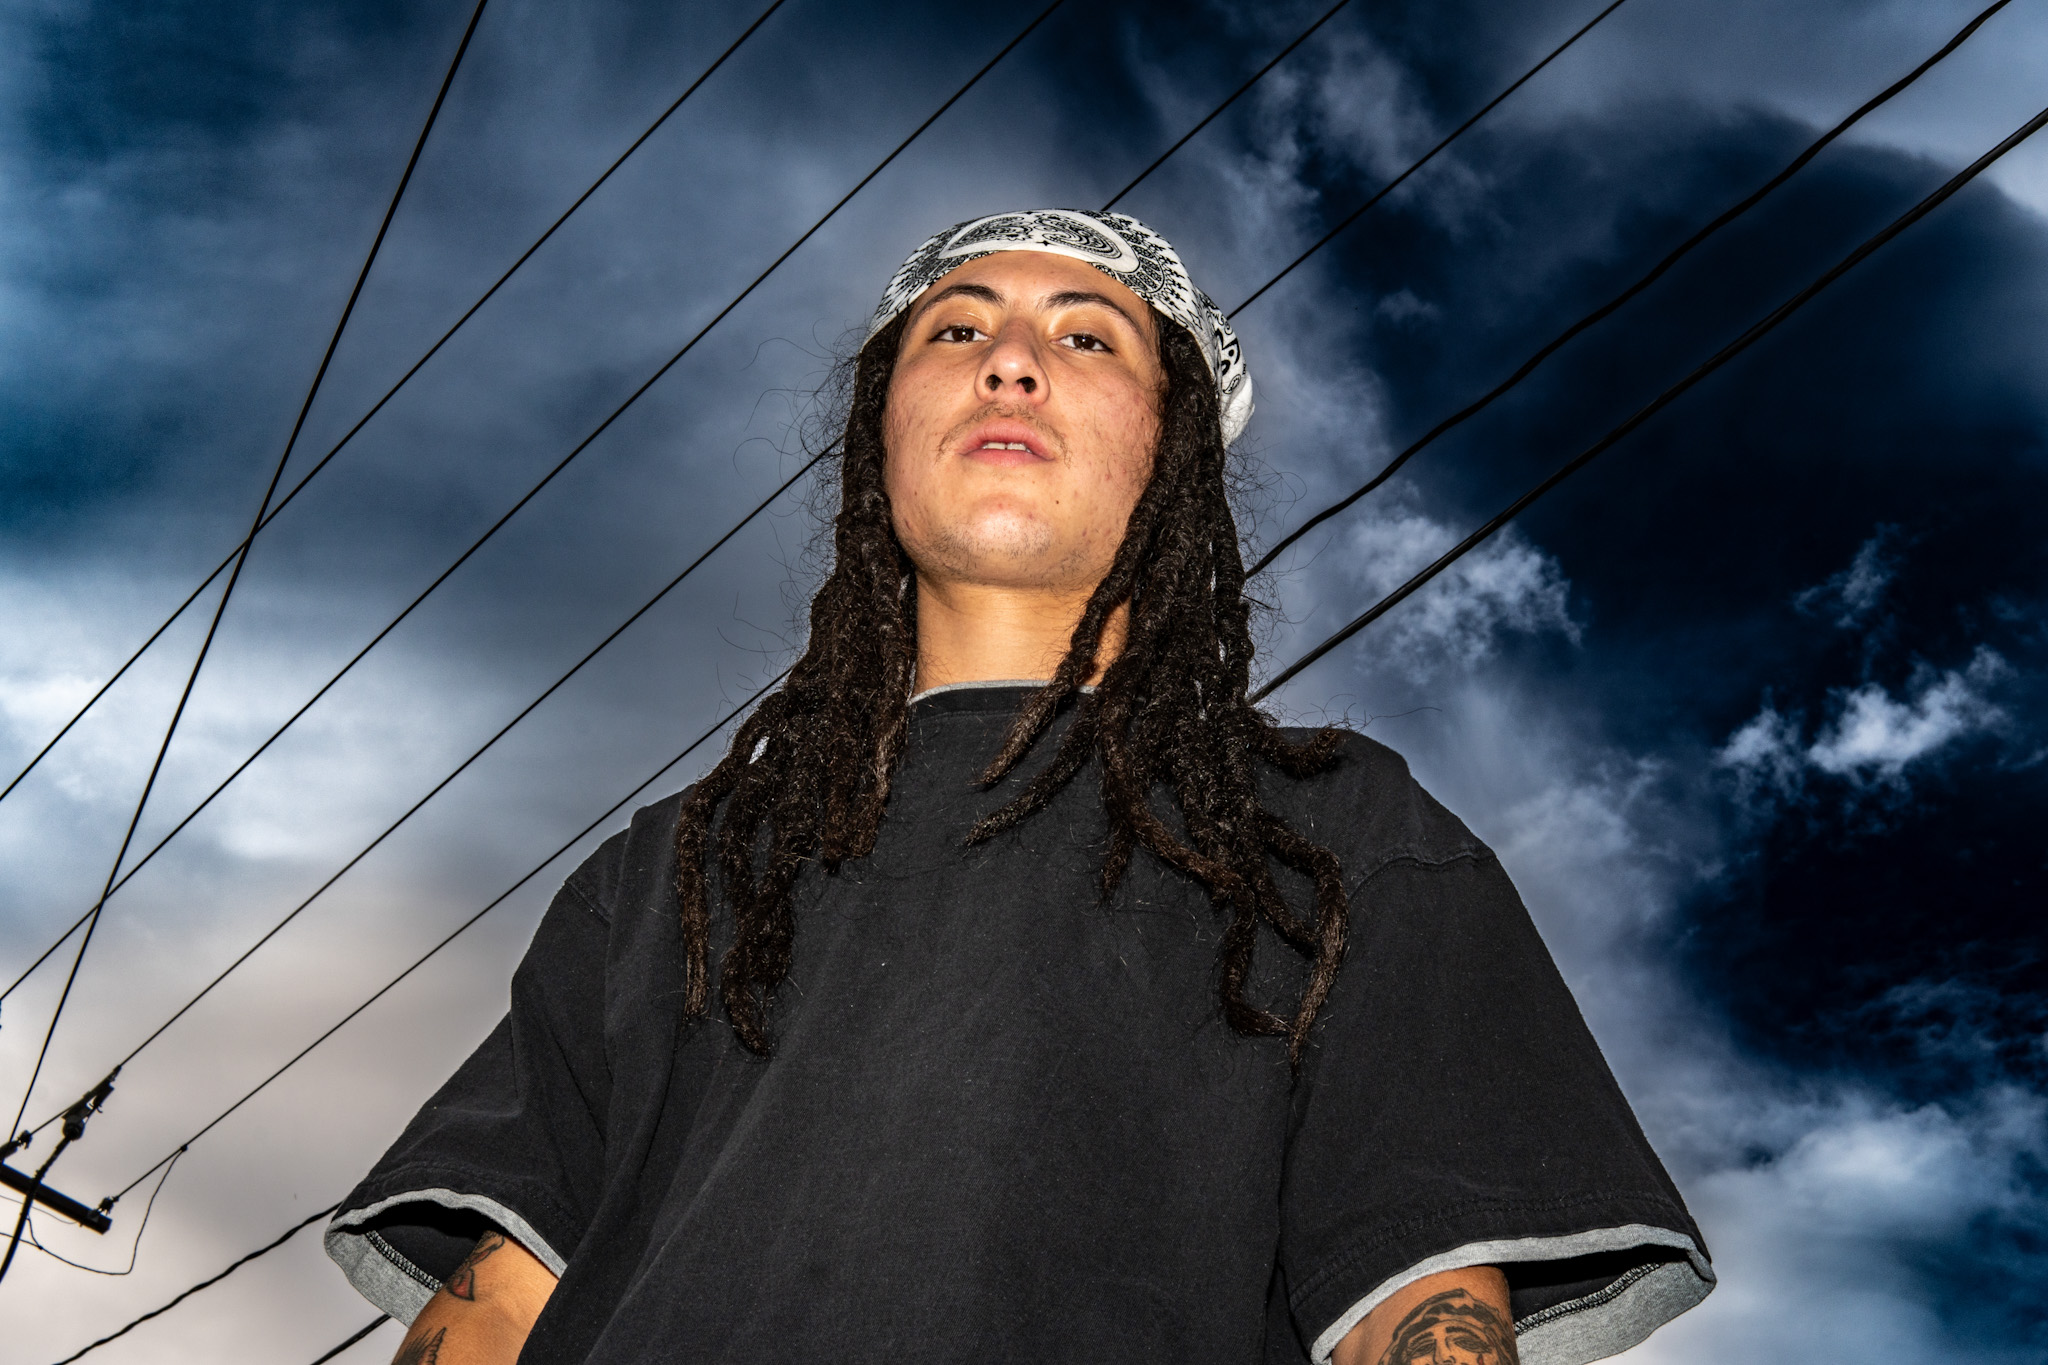
- Extremely low angles
- Overhead shots
- Dutch angles
- Ground-level shots
- Reflections
- POV shots
- Extreme wide angles
- Extreme telephoto shots
- Shots through objects
- Shots from behind the performer
Changing the camera’s perspective can make familiar environments feel unfamiliar.
Move the Camera Intentionally
Camera movement can become part of the visual language.
You could use:
- Fast push-ins
- Slow push-ins
- Rapid tracking
- Circular movement
- Handheld movement
- Whip pans
- Tilts
- Rotations
- Sudden stops
- Long continuous movements
You don’t have to make every movement smooth.
In experimental filmmaking, controlled instability can sometimes be more visually appropriate than perfectly stabilized footage.
Use Different Frame Rates
Frame rate can dramatically affect the appearance of movement.
Normal-speed footage can establish reality.
Slow motion can stretch time.
High-speed motion can create urgency.
You can combine different frame rates throughout the same music video.
For example:
Verse: 24 FPS
Pre-chorus: 60 FPS
Chorus: 120 FPS
Breakdown: 24 FPS with unusual shutter settings
This can create a visual rhythm that changes with the music.
Experiment With Shutter Speed
Shutter speed doesn’t always have to follow conventional cinematic settings.
A slower shutter can create additional motion blur.
A faster shutter can create sharper, more fragmented movement.
For example, an artist moving quickly through a frame with a slower shutter may produce dramatic trails of motion.
A fast shutter can make movement feel sharp and almost staccato.
These techniques can be particularly effective in aggressive or electronic music videos.
Use Lighting as a Creative Tool
Lighting doesn’t simply need to make the performer visible.
It can become part of the visual concept.
Experiment with:
- Colored LEDs
- Hard shadows
- Silhouettes
- Backlighting
- Flickering sources
- Practical lights
- Moving lights
- High contrast
- Underlighting
- Side lighting
- Light through blinds
- Reflections
You can also deliberately hide portions of the performer.
Not every part of the frame needs to be clearly visible.
Use Color to Create a Visual Identity
Choose a color palette that complements the music.
You might build the entire video around:
- Red
- Blue
- Green
- Purple
- Orange
- Magenta
- Black and white
- Highly saturated colors
- Muted colors
Color can also evolve throughout the video.
A relatively neutral opening could gradually become more saturated as the song becomes more intense.
Try Practical Effects
You don’t need expensive visual-effects software to make experimental imagery.
Practical effects can be extremely effective.
Consider experimenting with:
- Mirrors
- Glass
- Water
- Smoke
- Fog
- Projectors
- Flashlights
- Prisms
- Reflections
- Shadows
- Colored plastic
- Transparent materials
- Light leaks
Practical effects often produce unpredictable results, which can be useful for experimental filmmaking.
Experiment With Reflections
Reflections can create visually confusing compositions.
Try shooting through:
- Mirrors
- Windows
- Glass
- Water
- Metallic surfaces
- Car windows
- Reflective objects
You can also combine reflections with camera movement to create images that are difficult to immediately interpret.
Use Projection
Projection can completely transform an environment.
Project:
- Video
- Textures
- Colors
- Abstract animation
- Photographs
- Patterns
- Moving footage
onto walls, performers, objects, or other surfaces.
Projection mapping can create particularly interesting results when the projected image interacts with the shape and movement of the subject.
Try In-Camera Distortion
Not every distortion effect needs to be created in post-production.
You can experiment with objects placed between the lens and subject.
Examples include:
- Glass
- Plastic
- Prisms
- Water
- Transparent materials
- Reflective surfaces
These can bend, scatter, reflect, or distort the image.
Always make sure anything placed near the camera is safe for the equipment.
Use Mirrors Creatively
Mirrors can create multiple versions of a performer within one frame.
You can use them to create:
- Repeated reflections
- Symmetrical compositions
- False rooms
- Visual loops
- Disorienting perspectives
You can also move the camera around the mirror while keeping the performer positioned in a specific way.
Experiment With Editing
Editing is where experimental music videos can become especially unconventional.
You don’t have to cut only when the camera angle changes.
Try cutting based on:
- Drum hits
- Bass hits
- Vocal syllables
- Visual movement
- Color changes
- Camera movement
- Repeated lyrics
- Instrument changes
You can also deliberately cut against the rhythm.
A sudden long shot during an extremely fast section can be just as effective as rapid editing.
Use Repetition
Repetition can become a powerful visual device.
You might repeat:
- The same shot
- The same movement
- The same location
- The same object
- The same frame
- The same performance
Each repetition can change slightly.
The viewer begins to recognize the pattern while simultaneously noticing that something is changing.
Don’t Be Afraid of Long Takes
Experimental doesn’t automatically mean fast editing.
A long, static shot can sometimes be more unusual than hundreds of cuts.
Hold a shot longer than the audience expects.
Allow the performer to move through the frame.
Let the environment exist.
Then use a sudden cut when the moment feels right.
Contrast between long takes and rapid editing can create a strong visual rhythm.
Break Continuity Intentionally
Traditional filmmaking often attempts to maintain spatial and temporal continuity.
Experimental filmmaking can deliberately break those rules.
You can:
- Jump between locations
- Repeat actions
- Change wardrobe between cuts
- Change lighting instantly
- Reverse movement
- Cut between different times
- Repeat the same moment
- Change camera position without explanation
The audience doesn’t necessarily need to understand exactly how the sequence happened.
Reverse Footage
Reversing footage is a simple but effective technique.
Shoot an action normally and reverse it during editing.
Objects can appear to jump back into someone’s hand.
A performer can appear to walk backward naturally.
Water can appear to return to its source.
Combined with normal-speed footage, reversed footage can create unusual transitions.
Play With Time
Time doesn’t have to behave normally.
You can combine:
- Slow motion
- Fast motion
- Reverse footage
- Freeze frames
- Repeated frames
- Jump cuts
- Long takes
- Time-lapses
These techniques can make the video feel disconnected from normal reality.
Use Glitches Carefully
Digital glitches can be useful in experimental music videos, particularly when the music has electronic or technological elements.
Glitches can represent:
- Technology
- Corruption
- Fragmentation
- Disorientation
- Digital identity
- Information overload
However, adding random glitch effects to every shot can quickly become visually repetitive.
Use them when they contribute to the concept.
Try Analog Techniques
Digital filmmaking isn’t the only option.
You can introduce analog-looking elements through:
- VHS footage
- Old cameras
- Film photography
- MiniDV
- Super 8
- Photocopied textures
- Scanned images
- Physical film manipulation
Combining modern digital footage with older formats can create interesting visual contrasts.
Use Text and Graphics
Typography can become part of the music video.
You can incorporate:
- Lyrics
- Words
- Numbers
- Symbols
- Titles
- Captions
- Abstract typography
Text doesn’t always need to be centered and perfectly legible.
It can move through the frame, disappear, overlap the performer, or interact with the environment.
Don’t Try to Explain Everything
One of the strengths of experimental filmmaking is ambiguity.
You don’t necessarily need to explain every image.
A strange object can simply exist.
A repeated scene can remain unexplained.
A symbolic image can have multiple interpretations.
Allowing the audience to create their own interpretation can make the video more memorable.
Keep Some Structure
While experimental music videos can be unconventional, having some underlying structure can help keep the project cohesive.
You might organize the video around:
Beginning: Establish the visual world.
Development: Introduce visual changes.
Escalation: Increase movement, color, distortion, or editing intensity.
Climax: Combine the strongest visual elements.
Ending: Return to an earlier image or introduce a final visual change.
The structure doesn’t have to be obvious.
It simply gives the audience something to follow.
Match Visual Intensity to the Song
A useful approach is to let the visuals respond to the music.
When the song becomes quiet, simplify the imagery.
When the beat becomes intense, increase movement or visual complexity.
When the music drops out, consider removing movement entirely.
When a new instrument enters, introduce a new visual element.
This creates a connection between sound and image.
Create a Visual Motif
A visual motif is an image, object, color, movement, or concept that appears repeatedly throughout the video.
For example, you might repeatedly show:
- A red light
- A particular doorway
- A specific object
- A distorted face
- A particular location
- A recurring camera movement
The motif can change meaning as the video progresses.
Shoot More Than You Think You’ll Need
Experimental editing often depends on having unusual pieces of footage to work with.
Capture:
- Details
- Textures
- Environmental shots
- Reflections
- Close-ups
- Wide shots
- Movement
- Static shots
- Abstract imagery
You may discover during editing that a seemingly insignificant shot becomes one of the most important images in the video.
Don’t Chase Randomness
Experimental filmmaking and randomness aren’t necessarily the same thing.
Random imagery can be interesting, but intentional experimentation is generally more effective.
Before adding an unusual technique, ask:
Does this contribute to the music, concept, atmosphere, or story?
If the answer is yes, keep experimenting.
If the effect exists only because it looks cool, consider whether it actually belongs in the final edit.
Final Thoughts
Creating an experimental music video doesn’t require an enormous budget or expensive equipment.
It requires a willingness to experiment.
Use unusual locations. Break conventional editing rules. Experiment with lighting, color, frame rates, shutter speeds, reflections, practical effects, camera movement, and visual distortion.
Most importantly, develop a visual concept that responds to the music.
The strongest experimental music videos aren’t necessarily the ones with the most effects. They’re the ones where the visual choices feel intentional, distinctive, and connected to the artist’s identity.
There are no strict rules for experimental filmmaking.
Learn the traditional rules first, then decide which ones you want to break.
That freedom is what makes experimental music video production so creatively powerful.
By Pop Hitchcock
-
How to Use Transitions Without Overusing Them
Transitions can completely change the pace, energy, and visual style of a music video. Used correctly, they can make a sequence feel seamless, emphasize a change in the song, connect two locations, or create a memorable visual moment. Used too often, however, transitions can make a music video feel cluttered, predictable, or overly edited. One…
-
How Color Grading Changes the Look of a Music Video
Color grading is one of the final stages of music video production, but its impact can be enormous. Two music videos can be shot in the same location with the same camera, lenses, lighting, and performers and still look completely different after color grading. That is because color isn’t simply about making footage look “better.”…
-
Best Export Settings for Music Videos
Exporting a music video correctly is an important part of the production process. You can shoot beautiful footage, carefully edit the video, color grade every shot, and spend hours refining the final cut—but poor export settings can still reduce the quality of the finished video. The good news is that exporting a professional music video…
-
How to Create Unique Music Video Concepts
A great music video concept can turn a song into something people remember. With so many music videos being released every day, simply filming an artist performing in a cool location isn’t always enough to create a distinctive visual identity. A strong concept gives the audience something to recognize, understand, question, or remember after the…
-
How to Find Good Locations for Music Videos
The right location can completely change the look and feel of a music video. A simple room can become cinematic with the right lighting and composition. An ordinary street can become a powerful visual setting when filmed at the right time of day. An industrial building, parking garage, forest, rooftop, studio, or empty storefront can…
-
How to Make a Low-Budget Music Video Look Expensive
You don’t need a massive budget to make a music video look professional. While large productions can afford expensive cameras, elaborate sets, extensive crews, visual effects, and multiple locations, many of the visual qualities people associate with an expensive music video actually come from planning, lighting, composition, camera movement, production design, and attention to detail….