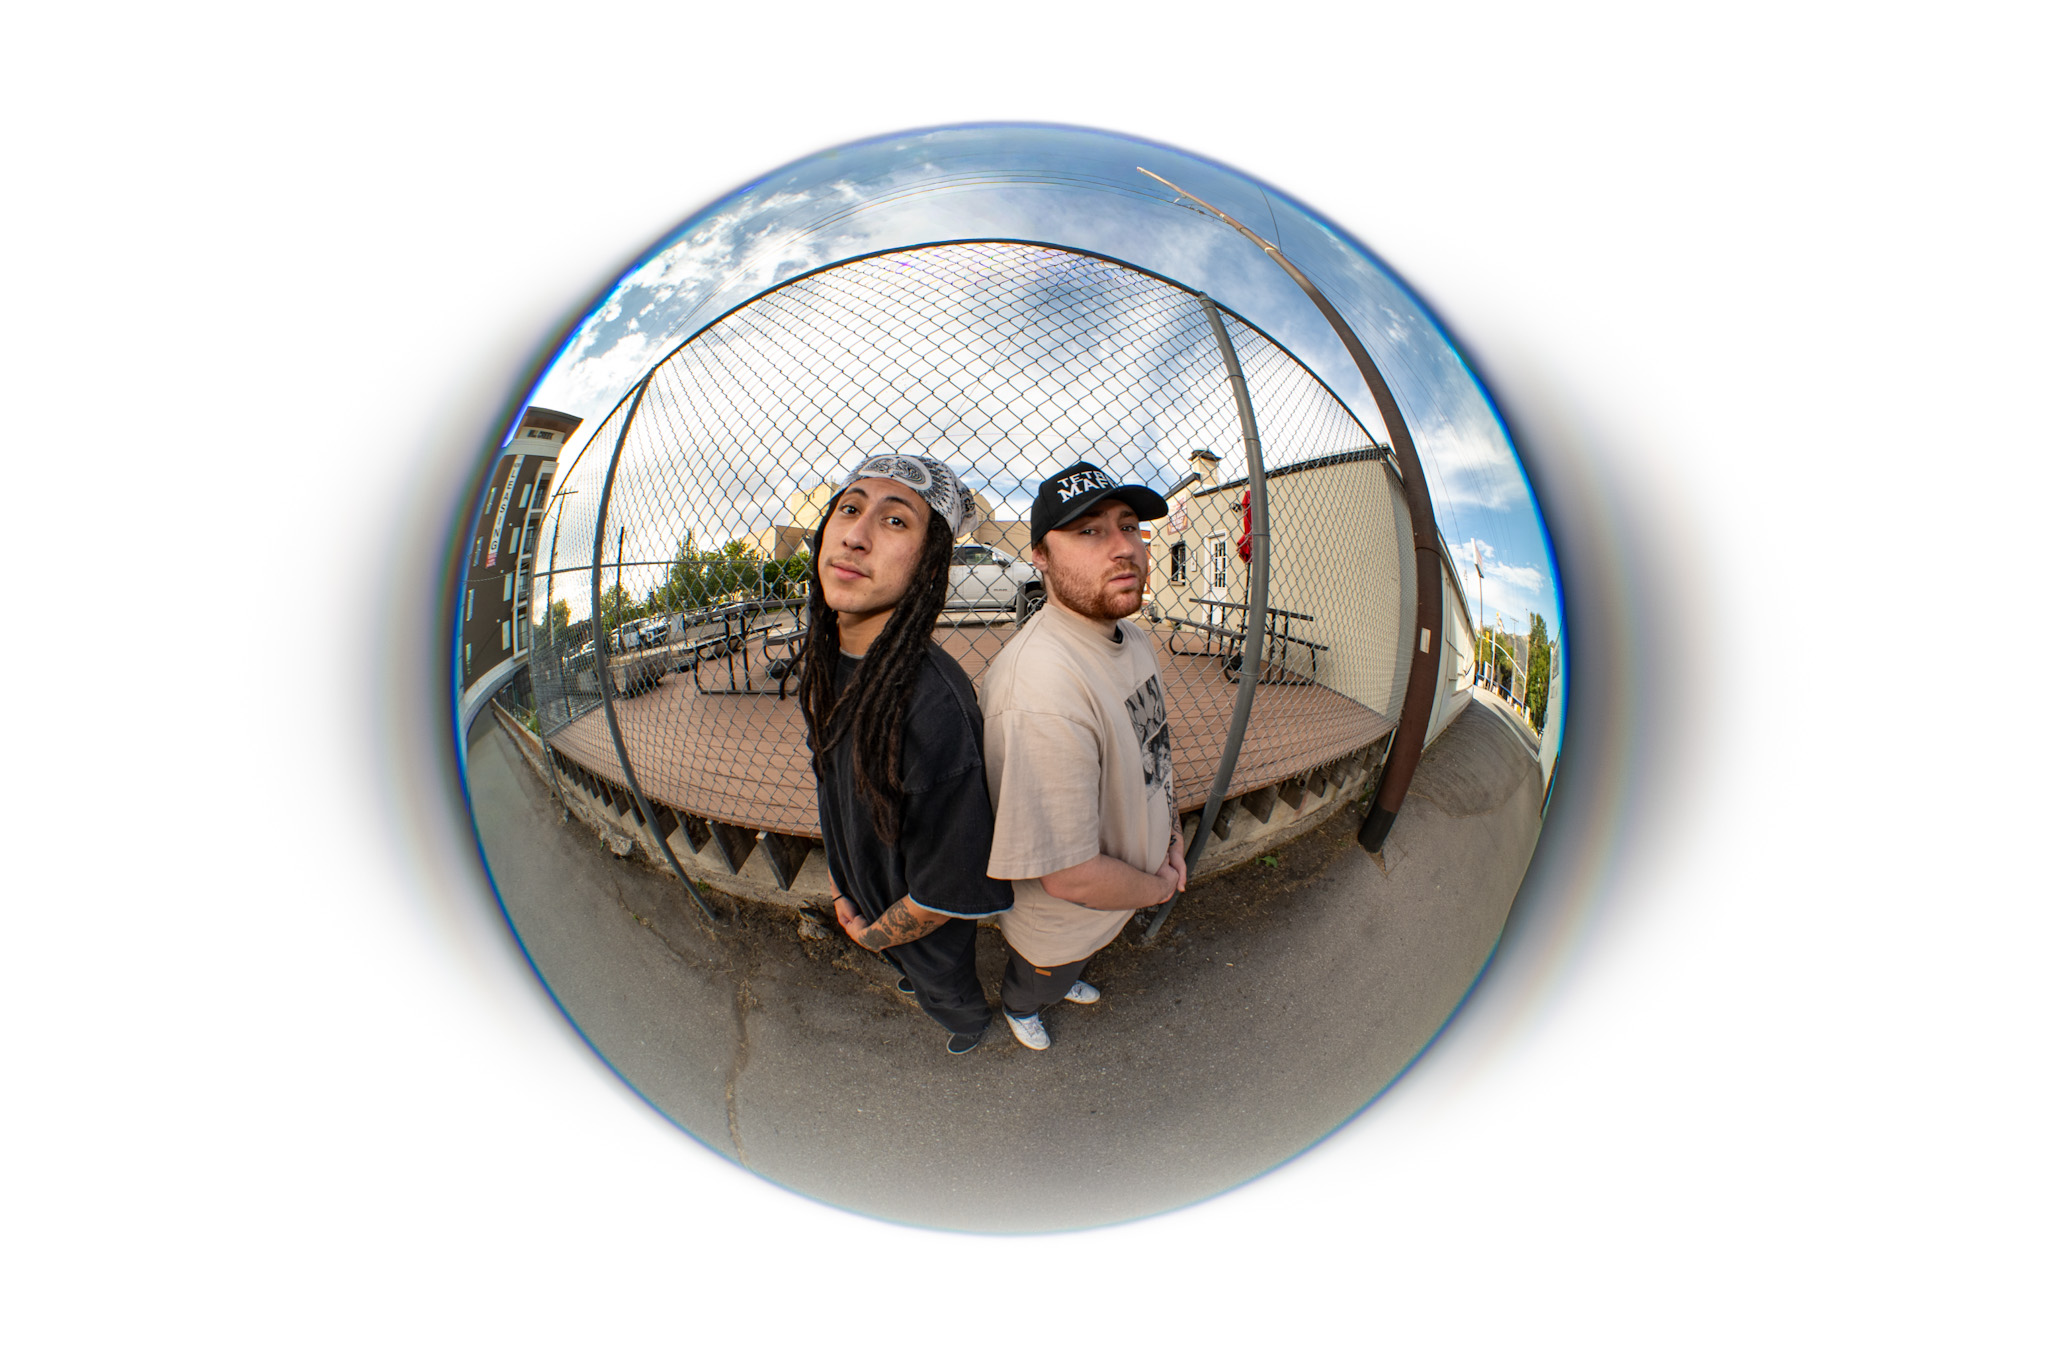
How to Find Good Locations for Music Videos
The right location can completely change the look and feel of a music video.
A simple room can become cinematic with the right lighting and composition. An ordinary street can become a powerful visual setting when filmed at the right time of day. An industrial building, parking garage, forest, rooftop, studio, or empty storefront can give an artist an entirely different visual identity.
Finding a good music video location isn’t necessarily about finding the most expensive or impressive place.
It’s about finding a location that fits the song, supports the concept, looks good on camera, and can realistically be filmed in.
Whether you’re producing a large music video or working with a small independent-artist budget, location scouting should be an important part of pre-production.
This guide explains how to find good locations for music videos and how to evaluate whether a location will actually work once the cameras are rolling.
Start With the Song
Before looking for locations, listen to the song.
The music should influence the visual direction.
Consider:
- Is the song dark or bright?
- Is it aggressive or relaxed?
- Is it energetic or atmospheric?
- Is it emotional?
- Is it experimental?
- Is it nostalgic?
- Is it futuristic?
- Is it raw and gritty?
- Is it polished and glamorous?
A location should reinforce those characteristics whenever possible.
For example, an aggressive industrial song might work well in:
- Warehouses
- Parking garages
- Concrete structures
- Industrial areas
- Empty buildings
- Underpasses
A softer or atmospheric song might work better in:
- Forests
- Open fields
- Bedrooms
- Houses
- Parks
- Waterfront areas
- Quiet streets
There are no universal rules.
Sometimes the best music videos deliberately place contrasting music and imagery together.
The important thing is that the choice is intentional.
Create a Visual Concept Before Scouting
Don’t start by asking:
“Where can we film?”
Start by asking:
“What should this video look like?”
Create a rough visual concept before searching for locations.
Think about:
- Colors
- Lighting
- Architecture
- Wardrobe
- Camera movement
- Time of day
- Weather
- Production design
- Performance style
- Visual effects
- Narrative elements
Once you know the visual direction, finding locations becomes much easier.
Instead of searching for “cool places,” you’re searching for something specific.
For example:
“I need a large concrete interior with overhead lights, dark walls, and enough space for camera movement.”
That is a much more useful search than:
“I need somewhere cool to shoot.”
Look at Ordinary Places Differently
One of the biggest mistakes when scouting locations is assuming that a location needs to be spectacular.
It doesn’t.
A normal location can become visually interesting through cinematography.
Consider places such as:
- Gas stations
- Convenience stores
- Bedrooms
- Apartment buildings
- Parking lots
- Laundromats
- Stairwells
- Alleys
- Restaurants
- Motels
- Office buildings
- Schools
- Gyms
- Workshops
- Suburban streets
- Basements
- Garages
The key is identifying what makes the location visually useful.
An ordinary gas station might have great fluorescent lighting.
A parking garage might have strong leading lines.
A bedroom might provide an intimate environment.
A stairwell might create interesting geometric compositions.
The location doesn’t have to be extraordinary.
The frame has to be interesting.
Search for Architecture
Architecture can provide a natural production-design element.
Look for:
- Concrete
- Brick
- Steel
- Glass
- Large windows
- Columns
- Staircases
- Arches
- Corridors
- Symmetry
- Repeating patterns
- Large open spaces
- Textured walls
Architecture gives the camera shapes and lines to work with.
For example, a long hallway can create strong leading lines toward the artist.
A staircase can provide multiple camera angles.
Large windows can provide natural light.
Concrete walls can create a minimalist or industrial appearance.
Look for Depth
When evaluating a location, don’t only look at what is directly behind the artist.
Look at how much depth exists between the camera, subject, and background.
A location with:
Camera → foreground → artist → background
will often provide more visual possibilities than a flat wall.
Look for:
- Doorways
- Hallways
- Objects in the foreground
- Windows
- Furniture
- Plants
- Vehicles
- Architectural structures
- Background lights
Depth can make relatively inexpensive locations feel much more cinematic.
Consider the Background
The background can make or break a shot.
When you arrive at a potential location, look through the camera rather than relying solely on what the location looks like in person.
Ask:
- What will appear behind the artist?
- Are there distracting signs?
- Are there random objects?
- Are there bright lights competing for attention?
- Are there people constantly walking through?
- Are there ugly walls or clutter?
- Are there interesting textures?
- Can the background be lit?
- Can the background be separated from the subject?
Sometimes a location that looks amazing when you’re standing in it doesn’t actually produce good frames.
Your camera sees the location differently than your eyes do.
Scout With Your Actual Camera
If possible, scout locations using the camera and lens combination you plan to use for the shoot.
This gives you much more accurate information.
A location may look large in person but feel cramped with a longer lens.
A room may appear boring to your eye but become interesting with a wide lens.
A hallway might look narrow but create excellent leading lines.
Try different focal lengths.
Capture test photos or short clips.
Look at:
- Framing
- Perspective
- Depth
- Exposure
- Background
- Natural light
- Potential camera movement
This can prevent major surprises on production day.
Consider Your Lens Choices
Different lenses can dramatically change how a location feels.
Wide-Angle Lenses
Wide lenses can emphasize:
- Architecture
- Small rooms
- Large environments
- Camera movement
- Foreground elements
They’re especially useful when you want the environment to become part of the visual.
Normal Focal Lengths
Normal focal lengths can provide a more natural perspective and work well for:
- Medium shots
- Performance coverage
- Environmental portraits
Telephoto Lenses
Longer lenses can compress the background and isolate the artist.
They’re useful when:
- You want separation
- The background is visually interesting
- You want to compress distance
- You have enough physical space to back up
A location can therefore look completely different depending on the lens being used.
Pay Attention to Natural Light
Natural light can save a significant amount of money.
When scouting a location, determine:
- Where the windows are
- Which direction they face
- When sunlight enters
- How bright the location becomes
- Whether the light changes dramatically throughout the day
- Whether curtains or blinds are available
- Whether artificial lights can supplement the existing light
A location that looks amazing at 5 PM might look completely different at noon.
This is why the time of day should be part of location scouting.
Scout for Golden Hour
Golden hour can be particularly useful for outdoor music videos.
The lower position of the sun can create:
- Warm highlights
- Long shadows
- Backlighting
- Lens flare
- Silhouettes
- More flattering light
However, golden hour is relatively short.
If you need a large amount of footage during this period, plan carefully.
Don’t spend the entire golden hour setting up.
Have the shots ready beforehand.
Consider Shooting at Night
Nighttime can completely transform a location.
A normal street during the day might become visually striking at night because of:
- Streetlights
- Storefronts
- Car headlights
- Neon
- Traffic
- Building lights
- Reflections
- Colored practical lighting
Night locations can also hide less attractive elements of the environment.
However, don’t assume that darkness automatically creates a cinematic image.
You still need enough controlled light to properly expose your subject.
Look for Interesting Practical Lighting
Practical lights are existing light sources within the scene.
Examples include:
- Neon signs
- Lamps
- Streetlights
- Ceiling fixtures
- LED strips
- Vending machines
- Storefronts
- Television screens
- Car lights
A location with interesting practical lighting can provide production value without requiring a massive lighting package.
When scouting, pay attention to the lights that already exist.
They may become part of the visual design.
Think About Color
Color should also influence location selection.
A location dominated by:
- Red
- Blue
- Green
- Yellow
- Orange
- Purple
- Neutral tones
can dramatically influence the visual identity of the video.
You can also change the location’s colors with lighting.
For example, a plain concrete wall can become dramatically different when illuminated with red or blue light.
This is another reason not to dismiss locations simply because their existing appearance isn’t perfect.
Consider How Much Control You Have
A location may look incredible but be difficult to control.
Ask:
- Can you control the lighting?
- Can you move furniture?
- Can you bring equipment inside?
- Can you control who enters the space?
- Can you play music?
- Can you use haze or atmospheric effects?
- Can you reposition objects?
- Can you block windows?
- Can you make noise?
- Can you film for several hours?
A location with slightly less visual appeal but much greater control may ultimately be more useful.
Always Think About Sound
Even though music videos generally use the finished song rather than production audio, sound can still matter during filming.
You may need:
- Playback loud enough for the artist
- Communication between crew members
- Quiet enough conditions for direction
- Control over interruptions
Locations next to busy roads, construction sites, crowded businesses, or loud machinery can make communication difficult.
This may not matter for the final audio track, but it can make production much harder.
Consider Power Availability
Lighting equipment requires power.
Before choosing an indoor location, determine:
- Where outlets are located
- How many circuits are available
- Whether extension cables can be used
- Whether the location allows additional electrical equipment
- Whether portable power is necessary
A location with limited electrical access can create problems if you’re planning to use several lights.
Think About Camera Movement
If your music video includes gimbal shots, tracking shots, or large camera movements, the physical layout of the location becomes extremely important.
Look for:
- Open floors
- Long hallways
- Wide paths
- Staircases
- Large rooms
- Outdoor paths
- Parking areas
- Clear walking routes
Before committing to a location, physically walk through the planned camera movement.
You may discover that a space looks great from a static camera position but doesn’t work for movement.
Look for Multiple Shooting Areas Within One Location
One of the best ways to stretch a production budget is finding a location that contains several visually different areas.
For example, one building might provide:
- A hallway
- A staircase
- A large room
- A rooftop
- A basement
- An exterior entrance
- A parking area
That gives you multiple visual environments without having to travel between locations.
This can save:
- Time
- Transportation costs
- Crew time
- Setup time
- Lighting time
It can also make the final video feel much larger than the actual production.
Consider Access and Parking
A location might look perfect online but become a nightmare once your crew arrives.
Consider:
- Parking
- Loading equipment
- Elevator access
- Stairs
- Distance from vehicles
- Restrooms
- Holding areas
- Waiting areas
- Security
- Operating hours
If you have cameras, lights, stands, tripods, cases, and other equipment, easy access can make a significant difference.
Make Sure You Can Actually Film There
One of the most important parts of location scouting is determining whether filming is permitted.
A visually perfect location is useless if you cannot legally or practically shoot there.
Depending on the location, you may need permission from:
- Property owners
- Businesses
- Building managers
- Municipal authorities
- Event organizers
- Parks departments
- Private organizations
Don’t assume that an empty-looking property is automatically available for filming.
Ask before you shoot.
Get Permission in Writing When Appropriate
For professional productions, written location permission can help prevent misunderstandings.
Depending on the project, a location agreement can establish:
- Date and time
- Areas being used
- Production activities
- Access requirements
- Payment
- Restrictions
- Liability requirements
- Cleanup responsibilities
The exact requirements vary depending on the location and production.
For commercial or larger productions, consider getting appropriate legal or production advice.
Consider Weather
Outdoor locations introduce another major variable: weather.
Before choosing an outdoor location, think about:
- Rain
- Wind
- Heat
- Cold
- Sun
- Clouds
- Lightning
- Mud
- Snow
Weather can completely change the appearance of a location.
Sometimes that’s a benefit.
A cloudy day might create soft, dramatic light.
Rain might create reflections.
Fog can create atmosphere.
But you should still have a backup plan.
Don’t Ignore the Time of Day
A location can look completely different depending on when you film.
Compare:
Morning
Soft light, fewer people, quieter environments.
Midday
Harder sunlight, brighter environments, potentially more activity.
Golden hour
Warm directional light and long shadows.
Blue hour
Cooler ambient light with artificial lights becoming prominent.
Night
Artificial lighting, darkness, reflections, and controlled exposure.
When choosing a location, choose the location and time together.
Search Online
The internet can be useful for discovering potential locations.
Search for:
- Unique buildings
- Industrial spaces
- Studios
- Event spaces
- Photography locations
- Rental houses
- Warehouses
- Historic buildings
- Parks
- Private venues
- Creative spaces
Google Maps and other mapping tools can also help you identify areas worth physically scouting.
Social media can be useful as well.
Photographers, filmmakers, musicians, and local creators often reveal interesting locations through their work.
However, always verify access and permission before planning a production around a location you discovered online.
Ask Other Local Creatives
One of the best sources of location information is other people who already work in the area.
Talk to:
- Photographers
- Videographers
- Musicians
- Models
- Event organizers
- Studio owners
- Artists
- Venue owners
- Production companies
Local creatives often know about locations that don’t appear prominently in online searches.
Building these relationships can make future location scouting much easier.
Use Your Own City as a Production Resource
You don’t necessarily need to travel to a major city to find visually interesting music video locations.
Look around your own community.
Explore:
- Downtown areas
- Industrial districts
- Parks
- Rural roads
- Local businesses
- Older buildings
- Bridges
- Parking structures
- Trails
- Neighborhoods
- Small-town streets
- Local architecture
Many filmmakers overlook locations simply because they see them every day.
Familiarity can make interesting places seem ordinary.
Try looking at your surroundings through a cinematographer’s perspective.
Scout at the Same Time You’ll Shoot
If you’re planning to shoot at night, scout at night.
If you’re planning to shoot at sunrise, scout at sunrise.
If you’re planning to shoot during a busy afternoon, visit during that same period.
This lets you understand:
- Lighting
- Traffic
- Crowds
- Noise
- Parking
- Weather
- Accessibility
- Background activity
A location can behave completely differently at different times.
Take Location Photos
During scouting, photograph important areas from multiple angles.
Capture:
- Wide shots
- Close-ups
- Potential performance areas
- Lighting sources
- Entrances
- Parking
- Power outlets
- Backgrounds
- Potential camera positions
These photos can later be used when creating the shot list and production plan.
They also allow the director, cinematographer, artist, and other crew members to discuss the location before production day.
Create a Location Scout Checklist
Before committing to a location, ask:
Visual
- Does it fit the song?
- Does it fit the concept?
- Does it look good through the camera?
- Does it provide multiple angles?
- Does it have interesting depth?
- Does it work with the planned color palette?
Technical
- Is there enough light?
- Can additional lights be used?
- Is there power?
- Is there enough room for the camera?
- Can the camera move freely?
- Is there enough space for equipment?
Production
- Can the crew access the location?
- Is parking available?
- Can equipment be unloaded easily?
- Are bathrooms available?
- Can the production stay for the required amount of time?
Legal
- Do you have permission?
- Are there restrictions?
- Is a location agreement necessary?
- Are permits required?
Contingency
- What happens if it rains?
- What happens if the location becomes unavailable?
- Is there a backup location?
If the location passes most of these tests, it may be a strong candidate.
One Location Can Be Enough
You don’t need five or ten locations to make a music video feel substantial.
A single strong location can provide an entire video if you use it creatively.
Change:
- Lighting
- Camera position
- Lens
- Wardrobe
- Performance
- Time of day
- Camera movement
- Color
- Production design
You can create several distinct visual sections without ever leaving the property.
This is especially useful for independent artists working with limited budgets.
How to Find Free Music Video Locations
If you’re working with a very small budget, start with places you already have access to.
Consider:
- Your home
- A friend’s house
- A friend’s business
- A garage
- A private property
- A workplace with permission
- Local outdoor areas
- Public spaces where filming is permitted
- Artist studios
- Rehearsal spaces
- Personal vehicles
You can also approach local businesses and explain the production.
Some businesses may be willing to allow filming during slow periods in exchange for exposure, a promotional video, or simply because they support local artists.
Don’t assume this will always be free, but asking can open doors.
Think About the Story
If your music video has a narrative, the location should serve the story.
Ask what the location means within the narrative.
A house could represent:
- Isolation
- Memory
- Comfort
- Conflict
- Nostalgia
A parking garage could represent:
- Movement
- Isolation
- Urban life
- Tension
A forest could represent:
- Escape
- Uncertainty
- Nature
- Transformation
The location can become part of the storytelling rather than simply being a backdrop.
Don’t Choose a Location Just Because It Looks Cool
A visually impressive location isn’t automatically a good music video location.
It still needs to work for the production.
A huge warehouse may look incredible but be difficult to light.
A beautiful rooftop may have restrictive access.
A forest may look amazing but provide poor camera movement.
A downtown street may have incredible visuals but be impossible to control.
A good location balances:
Visual appeal + practicality + accessibility + production control.
Build a Location Around the Artist
The artist should remain the center of the music video.
The location should support the artist rather than overpower them.
Consider:
- Where the artist will stand
- Where they will move
- What they will wear
- How they’ll interact with the environment
- Where the camera will be
- How the background frames them
A great location should give the artist opportunities to perform rather than simply providing scenery.
Final Thoughts
Finding good locations for music videos is less about discovering the most impressive place and more about discovering the right visual environment for the song.
Start with the music and concept.
Then look for locations that provide strong architecture, depth, interesting lighting, useful backgrounds, practical access, and enough control for your production.
Don’t overlook ordinary places. Don’t assume you need expensive locations. And don’t forget that one well-chosen location can potentially provide enough visual variety for an entire music video.
The best location is ultimately the one that allows the creative vision to work.
With careful scouting, thoughtful cinematography, intentional lighting, and strong production planning, even a relatively ordinary location can become a memorable part of a professional music video.
By Pop Hitchcock
-
How to Use Transitions Without Overusing Them
Transitions can completely change the pace, energy, and visual style of a music video. Used correctly, they can make a sequence feel seamless, emphasize a change in the song, connect two locations, or create a memorable visual moment. Used too often, however, transitions can make a music video feel cluttered, predictable, or overly edited. One…
-
How Color Grading Changes the Look of a Music Video
Color grading is one of the final stages of music video production, but its impact can be enormous. Two music videos can be shot in the same location with the same camera, lenses, lighting, and performers and still look completely different after color grading. That is because color isn’t simply about making footage look “better.”…
-
Best Export Settings for Music Videos
Exporting a music video correctly is an important part of the production process. You can shoot beautiful footage, carefully edit the video, color grade every shot, and spend hours refining the final cut—but poor export settings can still reduce the quality of the finished video. The good news is that exporting a professional music video…
-
How to Create Unique Music Video Concepts
A great music video concept can turn a song into something people remember. With so many music videos being released every day, simply filming an artist performing in a cool location isn’t always enough to create a distinctive visual identity. A strong concept gives the audience something to recognize, understand, question, or remember after the…
-
How to Make a Low-Budget Music Video Look Expensive
You don’t need a massive budget to make a music video look professional. While large productions can afford expensive cameras, elaborate sets, extensive crews, visual effects, and multiple locations, many of the visual qualities people associate with an expensive music video actually come from planning, lighting, composition, camera movement, production design, and attention to detail….
-
4K vs. 1080p for Music Videos
Choosing the right resolution is an important decision when planning a music video. Today, many cameras can record in both 4K and 1080p, but that doesn’t automatically mean every music video needs to be shot in 4K. The best choice depends on the camera, production requirements, editing workflow, final destination, storage, budget, and desired image…